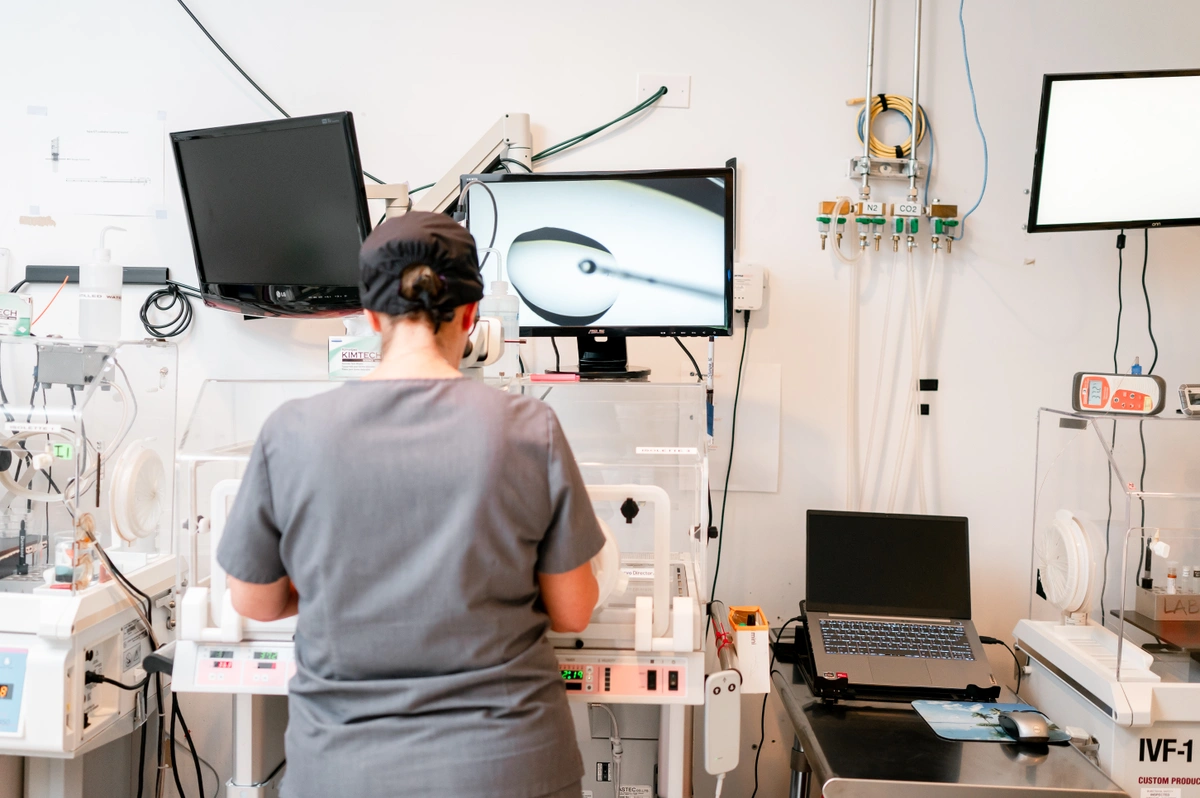
The IVF Lab Process Explained
For patients pursuing in vitro fertilization (IVF) at AFCC, some of the most intricate and crucial steps of the journey take place behind the scenes in one of our state-of-the-art labs. Once the egg retrieval is complete, your dedicated fertility team begins a series of carefully timed and precise processes to prepare your embryos for transfer. This guide offers an inside look at each phase of the IVF lab process, helping you understand what happens at every stage to maximize your chances of success.
Step 1: Egg Retrieval
The IVF lab process begins with egg retrieval. During this minimally invasive procedure, mature eggs are gently removed from your ovaries under light sedation. Guided by ultrasound, your physician carefully collects the eggs, which are then transferred to the IVF lab for immediate evaluation. The eggs are assessed for quality and maturity, and only mature eggs move forward to the fertilization stage.
Step 2: Sperm Collection and Preparation
After the eggs are retrieved, the next step involves collecting a sperm sample from either a partner or a donor. In the lab, the sample undergoes sperm washing, a process that isolates the healthiest, most motile sperm. This ensures that only high-quality sperm are used during fertilization, which is key to successful embryo development.
Step 3: Fertilization: Traditional IVF or IVF with ICSI?
With mature eggs and prepared sperm ready, the fertilization process begins. Fertilization may be achieved through one of two primary methods:
-
Conventional IVF: Eggs and sperm are combined in a petri dish, allowing the sperm to fertilize the eggs naturally. This method requires a sufficient quantity of healthy, motile sperm.
-
Intracytoplasmic Sperm Injection (ICSI): For cases involving male infertility or a limited number of healthy sperm, ICSI is often recommended. In this technique, a single sperm is directly injected into each mature egg to maximize fertilization success.
Step 4: Embryo Culture and Development
Once fertilization occurs, the resulting embryos are placed in a carefully controlled incubator for development, a process called embryo culture. Over the next 3 to 5 days, the embryos grow and divide in conditions that replicate the human body as closely as possible.
During this time, our embryologists monitor the embryos’ progress. By day 3, most embryos reach an 8-cell stage, and by days 5 to 7, some advance to the blastocyst stage. Blastocysts often have higher success rates for implantation, making them a preferred choice for transfer.
Step 5: Embryo Grading
As embryos develop, they are graded based on their quality, with embryologists evaluating factors such as cell structure, symmetry, and fragmentation. Embryo grading helps identify the embryos with the highest potential for implantation, though it’s important to note that grading is only one piece of the puzzle and not a definitive predictor of success.
Step 6: Optional Genetic Testing
Some patients choose to have their embryos undergo preimplantation genetic testing (PGT). This advanced screening checks for chromosomal abnormalities or specific genetic disorders, offering peace of mind to patients with a family history of genetic conditions or recurrent pregnancy loss. PGT is typically performed on day 5, with embryos frozen while awaiting results.
Step 7: Preparing for the Embryo Transfer
While the lab team nurtures embryo development, your fertility team focuses on preparing your body for the upcoming transfer. Medications or other treatments may be used to optimize your uterine lining, ensuring it’s ready for implantation. Your doctor will provide tailored instructions to help you prepare for transfer day.
Step 8: Embryo Transfer
Embryo transfer is a quick and straightforward procedure performed without sedation. Using ultrasound guidance, your doctor places the selected embryo into your uterus through a thin catheter. For many patients, this step represents the culmination of months of hard work and hope. After the transfer, a short period of rest is usually recommended.
Step 9: The Two-Week Wait
Following the embryo transfer, you’ll enter the two-week waiting period before taking a pregnancy test. During this time, your fertility team will advise you on any activity restrictions and self-care tips to support implantation. Many patients report this is the most challenging portion of their IVF journey! Don’t be afraid to reach out to your care team if you have any questions during this time.
Freezing Extra Embryos
If there are additional high-quality embryos remaining after the transfer, they can be frozen for future use through cryopreservation. This provides flexibility for future family planning or additional IVF cycles without repeating the full process. Frozen embryos remain viable for many years, offering reassurance to patients planning ahead.
Conclusion: Precision and Care at Every Step
Every stage of the IVF lab process at Advanced Fertility Center of Chicago is performed with expert precision and a focus on maximizing success. From fertilization to embryo grading, these intricate steps are critical to achieving your fertility goals.
If you have questions about IVF or any aspect of the lab process, our team is here to provide answers and personalized support. Contact us today to take the next step in your fertility journey!
Categories
About the AFCC Blog
Welcome to the Advanced Fertility Center of Chicago’s blog! Here, you will find information on the latest advancements in fertility care and treatments, including IVF, IUI, third-party reproduction, LGBTQ+ family building, preimplantation genetic testing, and more. Since 1997, we’ve used our experience and continuous investment in the latest fertility technology to help thousands of patients grow their families. Contact us today for more information or to schedule a new patient appointment.

